Time to Knit
by Kelly Jones © 2012
This unique clock pattern was knit on the fixed 2 loom. It was featured in the Fall 2012 issue of Loom Knitters Circle Magazine.
For more of Kelly's patterns visit: www.kellyknits.com
Loom: Kiss Fixed 2 Long Slim Adjustable Loom
Yarn: Approximately 170 yards of #2 yarn Jo Sharp 100% pure wool 107 yds (2), color Olive
Gauge: 5 st x 8 rows per 1”
Supplies:
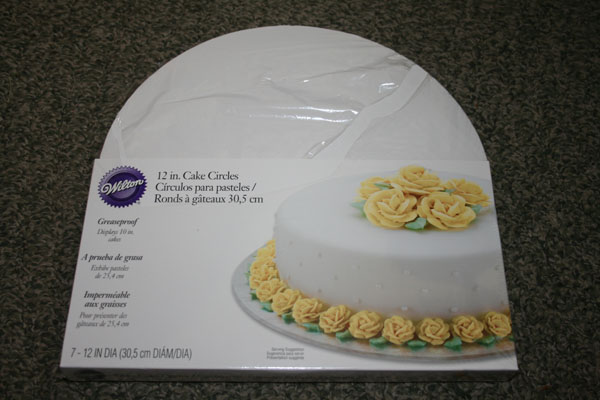
12” Cardboard Cake Board (see photo below)
Straight Pins
Hot Glue Gun and Glue
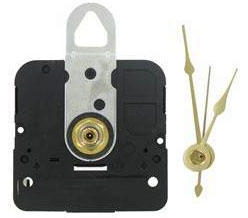
Clock Components (see photo below)
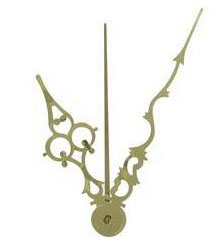
Large Clock Hands (see photo below)
Notes:
1. Consider peg 1 to be on the right hand side after cast on. Peg 33 is on the left.
2. Wrap and turn is completed by lifting loop, wrapping working yarn around peg by going behind to the left hand side of peg and then around to the front of the peg. Place loop back on peg and continue knitting the next row, make sure you are behind the pin! Do not knit off this w&t peg!
3. The return row from the wrap and turn on peg 17 is the only row of purl in each wedge.
4. Clock component kits come in different shaft lengths to accommodate the thickness of your clock face. You may want to measure the width of your knitting once it is glued to the cake board to determine which size kit you need. For this weight yarn I used ¼” thick clock face components.
5. Clock component kits come with small hands that may not be appropriate for the size of your clock. The minute hand should rotate over the top of where the numbers would go. Hand kits are offered separately and come in a variety of sizes and colors. For this diameter clock I used 4 1/8” clock hands.
6. Super Stretchy Bind Off video
If you are wanting to make another size clock, use Isela's Pinwheel Dishcloth “Adapt Me” instructions at the bottom for other diameter circles.
Cast on 33 pegs left to right with a marker on peg 17, this will be the middle stitch with 16 on each side.
*Knit 2 rows using u-wrap stitch
Knit to peg 30 – wrap and turn peg 31. Do not knit off peg 31! Knit to peg 1.
Knit to peg 29 – wrap and turn peg 30. Do not knit off peg 30! Knit to peg 1.
Continue in this manner until you wrap and turn peg 17, purl back to peg 1.
Continue knitting and wrapping and turning until you wrap and turn peg 3 and knit back to peg 1.
On the next row, knit all 33 pegs, lifting 2 loops over one on pegs 3-31. Knit to peg 1*
This completes wedge one. Repeat from * to * for 5 more wedges, a total of 6.
 Bind off method 1:
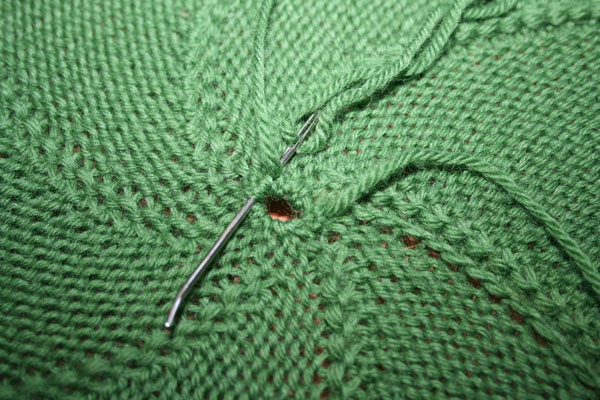
Bind off using super stretchy bind off. Seam to beginning edge making sure to leave a small opening in the center to put clock component shaft. Secure hole by sewing through loops around the edge – do not pull snug.
Bind off method 2:
Knit 5 rows in waste yarn, remove project and graft edges together. Make sure to leave a small opening in the center to put clock component shaft. Secure hole by sewing through loops around the edge – do not pull snug.
If you've used wool for your clock you can add needle felted numbers before blocking. Use strands of contrasting wool yarn and shape the numbers. Pin knitting with wrong side up on blocking board. Use cake board as a template to make sure you block evenly.
Prepare Clock Base:
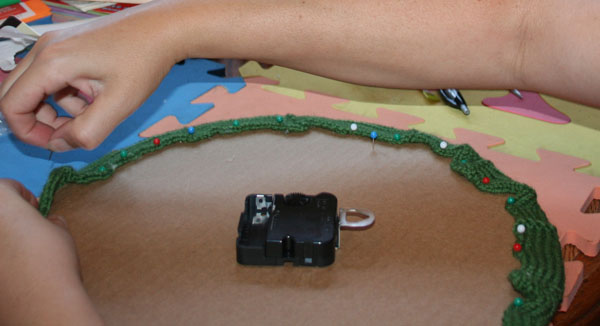
Punch small hole in center of 12” cake board. Place cake board on knitting – line up center hole in board and knitting. Pin edges to cake board making sure not to misalign center holes.
Check alignment of pattern on front edge of clock to make sure the purled lines are even around clock.
Go back and un-pin small sections and hot glue edge down. Hot glue should dry fast enough to not replace the pins. Allow to dry.
Add Clock Components:
Place clock mechanism through the back of the cake board. Make sure shaft is long enough that the hands will run smoothly around your clock and not snag on the knitting. Add hands – hour hand first, then minute hand and second hand on top. You may choose not to use second hand. You may wish to tape or glue the clock mechanism in place to secure it. I recommend tape so that if you need to replace the mechanism at some point you don't tear up the cake board.
Hang on the wall and enjoy – make time to knit every day!